DIY Fall Flower Wreaths
- Charity
- Aug 3, 2020
- 2 min read
Updated: Feb 21, 2022

I don't know about you guys, but I am already ready for fall! Cool days, sweater weather, falling leaves and pumpkin picking. It may not seem like it as we are in the August heat, but fall is just around the corner and decorations are already hitting the shelves. Instead of waiting for September or October when all of the stores are picked through, try this 10 minute DIY! And believe it or not, I picked up all of these materials at the dollar store, making each wreath $5-$7 depending on the style!
Materials
Fake flower bouquets (3 or 4)
Foam wreath

Burlap (optional)
Scissors
Wire cutters
Foam wreath
String
Burlap (optional)
Scissors
Wire cutters
Step 1

- Cut flowers off stem with wire cutter leaving
enough stem to secure into wreath, but not too much that the stem goes through the back of the wreath.
Instead of a wire cutter I actually use a dog nail clipper to cut through the stems clean and quick. ( not one I use for my dog).
Step 2 -3 (optional)
These steps are for those putting the wreath somewhere other than a door where you would be able to see the sides and back.
-Wrap burlap around the wreath until it covers the foam.

-When placing the first flower in the foam wreath, make sure to put it in the end of the burlap to secure it in place.
Step 4

-Push flowers into wreath in pattern you decide, ensuring you completly cover foam wreath/ burlap.
It may be helpful to place flowers around wreath before placing them in foam to see if the distance between flowers is correct.
Do not worry if you have to take the flowers out of the foam and move the location,the flowers will hide the extra holes in the foam!
Step 5

-Cut a piece of string the desired length for hanging the wreath.
To get the right length, I held the wreath to the door where I would like it and meausured the distance between the wreath and the door hanger
Step 6
-Wrap the string around the wreath (under the flowers) and tie a knot, then hold the remaining string up a tie it in a knot.
Cut away any remaining string above the knot
Step 7
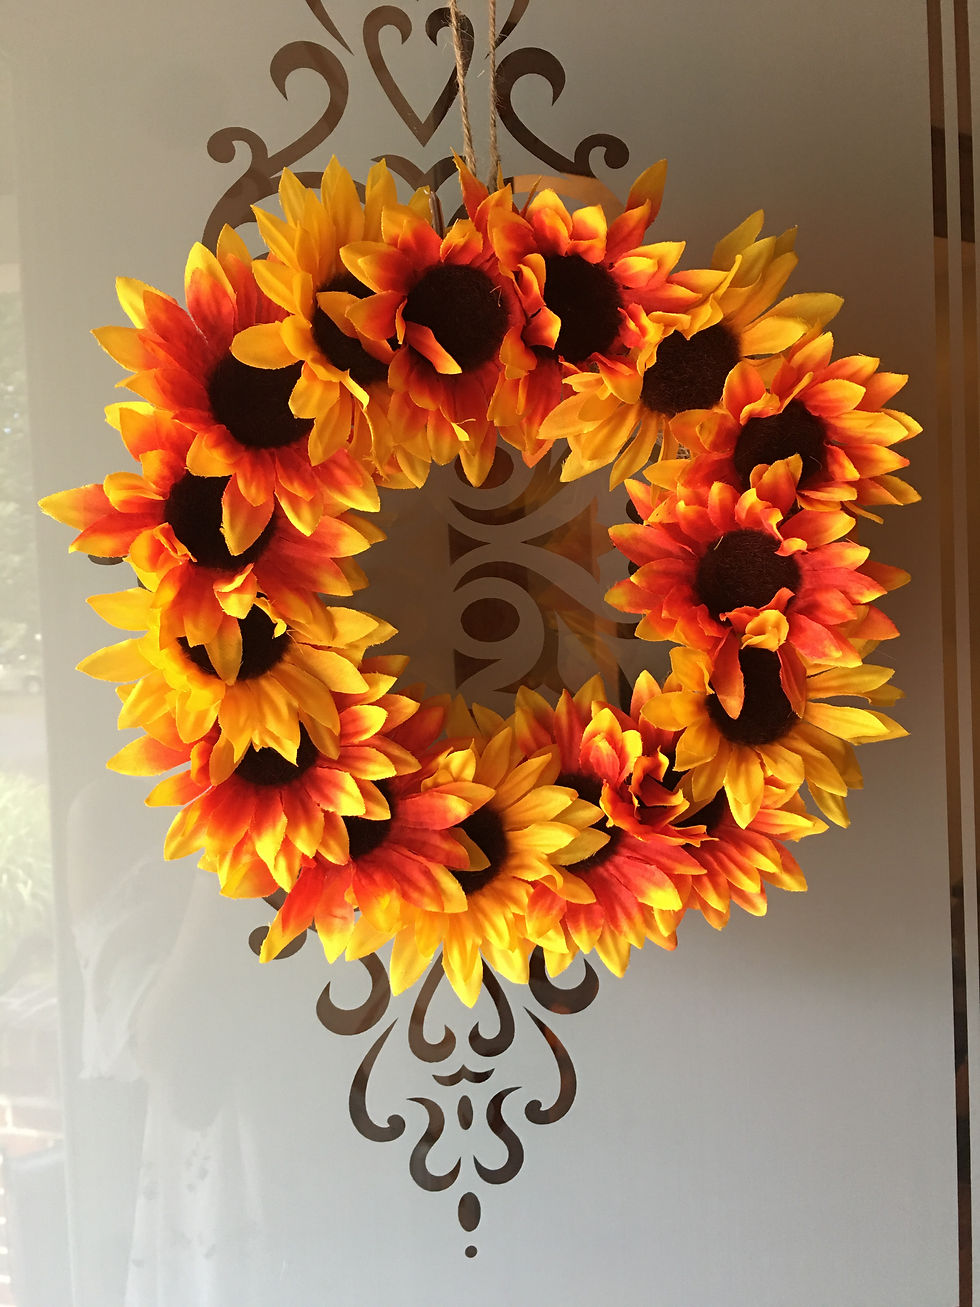
-Hang up the wreath and be proud of your easy craft for fall!
See below for the finished products of two different fall designs, one with burlap and one with out.
Comment pictures of your wreaths and any other fall ideas you have or that you would like to see!


Comments